
03/28/2021
This page was originally posted on the website for the shop I owned. I no longer own the shop, but a lot of people found my knowledge and experience with the Volvo / Land Rover / Jaguar / (FORD) READ / R.E.A.D. Rear End Accessory Drive helpful. So I thought I would recreate and update the page here on my new website.
I’ll start with the original video I posted years ago that explains what the READ unit is, and how it works. I have remove some of the now irrelevant content. Below that video, will be a new video in which I go through the rebuilding process step by step. These are the same videos on the home page of this site, so if you have already seen them, you can skip past them.
This next video takes you through the rebuilding process step by step with a lot of helpful tips along the way.
Now, back to the original story. In January 2014 we did our first Volvo Rear End Accessory Drive / R.E.A.D. unit rebuild. I’ve also heard it referred to as the Volvo Rear Engine Auxiliary Drive and the Volvo READ. I was not able to find much information on the web about the R.E.A.D. unit, so I thought I’d share our experience for those who are looking to learn more about the Volvo READ. unit and the rebuilding process.
In January 2014, we were contacted by another local shop that had a 2008 Volvo XC90 with a noise coming from the back of the engine near the alternator. They found the service bulletin number 21–9 that described a noise near the back of the engine. It said the cause was a failure of the drive gear for the READ unit. The drive gear is what drives the R.E.A.D. unit by the crankshaft. They asked if we were familiar with the issue and if we do the job. We had not done the job before, but two of our technicians had recently attended a training session on SI6 or short in-line six cylinder engine. They were very interested in putting the new knowledge to work. We discussed the job. We talked about how it would take an investment of about $2000 in special tools and we would certainly lose money on the job, but we decided the experience is worth it. The vehicle was brought to our shop and we ordered the tools. Once the tools arrived we began the disassembly procedure to remove the Rear End Accessory Drive / R.E.A.D. unit. At that time we believe we would just be replacing the gear drive as the bulletin stated.
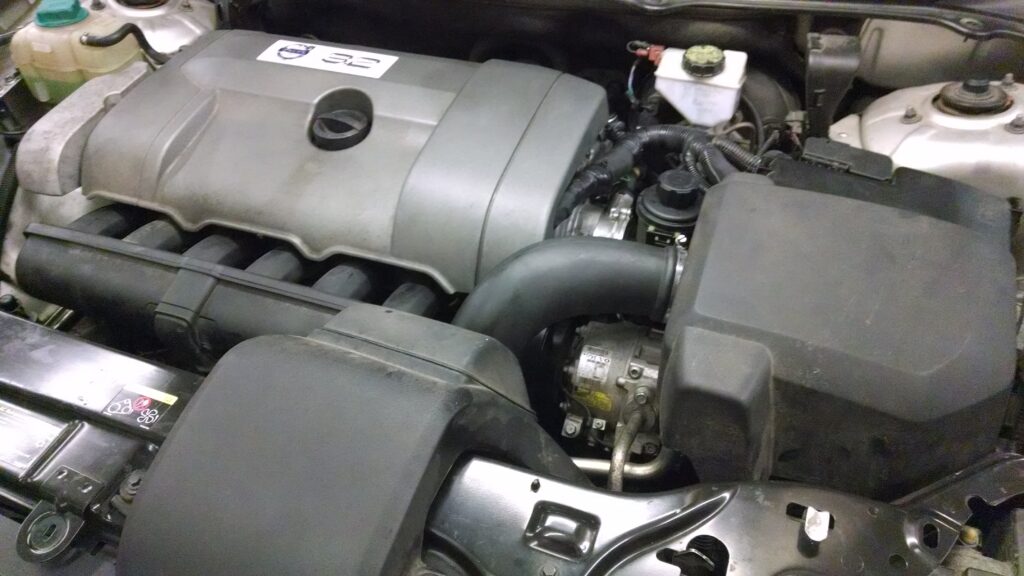
If you watch the video above you will see that the noise turned out to be the bearing inside the READ unit, and not from the gear drive addressed in the bulletin. Below is a picture of the Volvo SI6. I found this picture online and I’ve included it here because with the engine out of the vehicle it’s much easier to see the R.E.A.D. unit. The READ unit is the box near the back of the engine with a small gear that looks like a timing belt pulley.

The name Rear End Accessory Drive describes only half of what the Volvo R.E.A.D. unit does. While it does drives the alternator and the other accessories, it also connects the crankshaft with the camshafts. In the next image you can see how the read unit attaches to the timing chain.

The next image shows our starting point. Most of what you see here on top of this engine needs to be removed to get to the rear end accessory drive unit.
The first step is to remove the right front wheel and move the inner fender out of the way to access the front of the engine. Once that’s done there’s a plug in the front of the engine that covers the crankshaft. This has to be removed so special tools that locks the crankshaft in place can be installed see that here in this image.

The next step is to remove the intake manifold and everything on that side of the engine above the read unit.
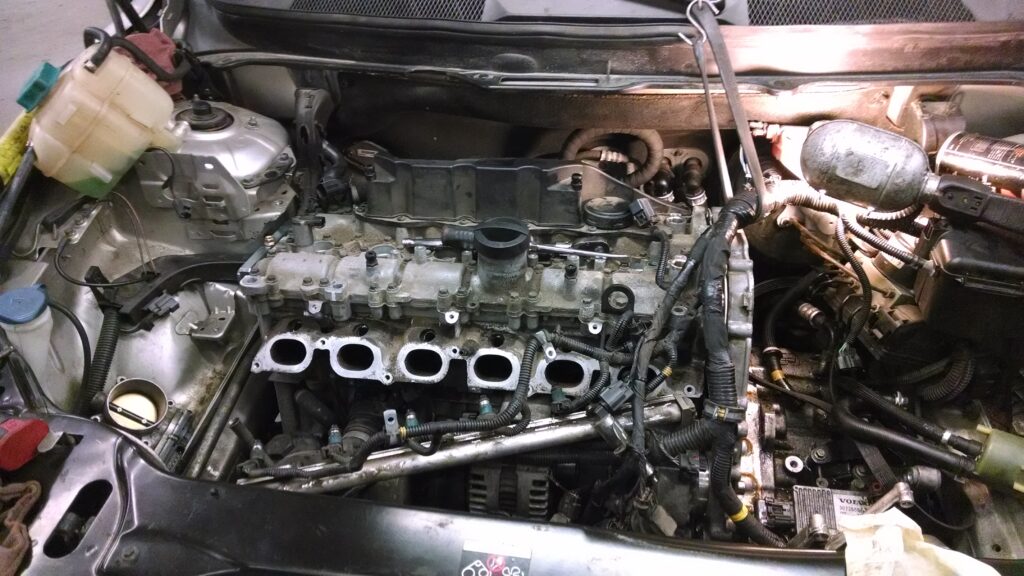
Next the front timing chain cover needs to be removed.
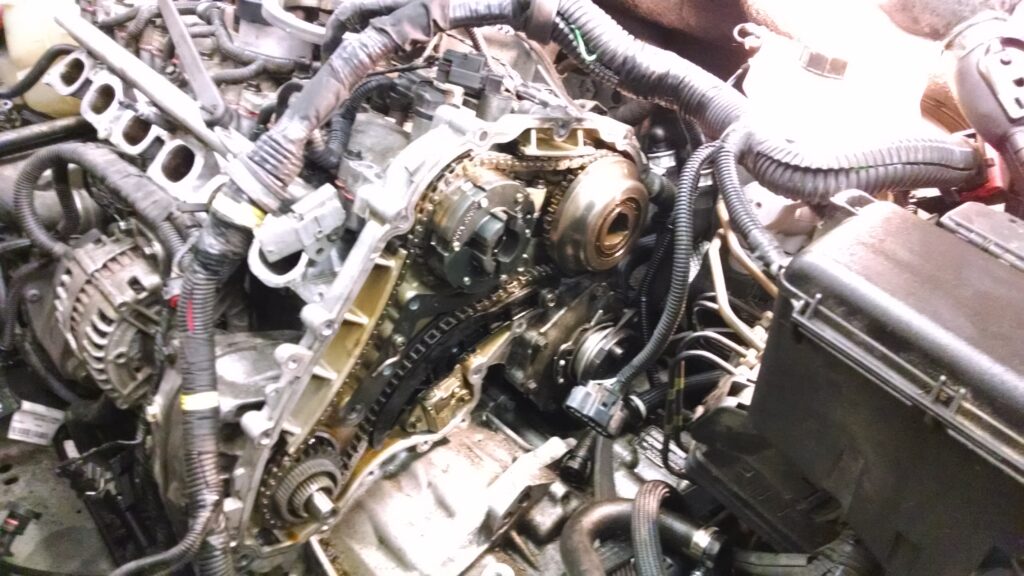
Then the timing chain, gears, and rear timing chain cover need to be removed.
Then the rear timing chain cover.
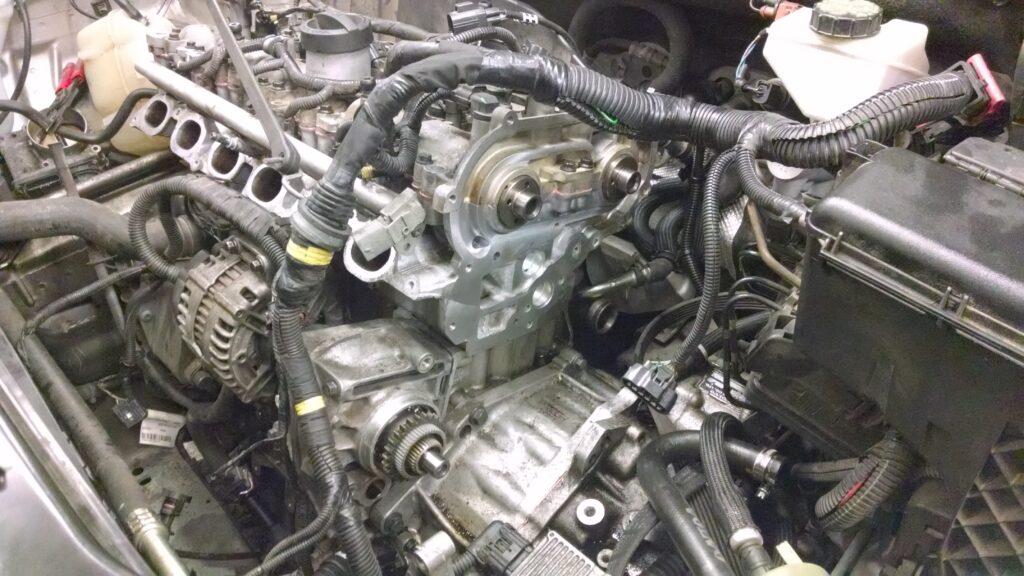
Once all of this is out-of-the-way we can now see the read unit.

The next step is to remove the R.E.A.D. unit and drive gear. There’s a special tool to remove the drive gear from the block, however, if you are careful, you can usually get it out without the special tool. It’s very critical at this point to inspect the journal where the gear drive sets as well as the roll pin that locks the gear drive shaft to the block. If any of this is damaged, Volvo recommends replacing the engine. The Volvo literature states that the READ unit is mated to the block, and cannot be replaced separately. This makes no sense to me though. If the main drive gear is parallel to the crankshaft, then the rest of the shafts should be parallel.
Once we had the gear drive out we found that was not the cause of the noise. What we found is a failed bearing in the Rear End Accessory Drive. In this picture the bearing is shown on the left.
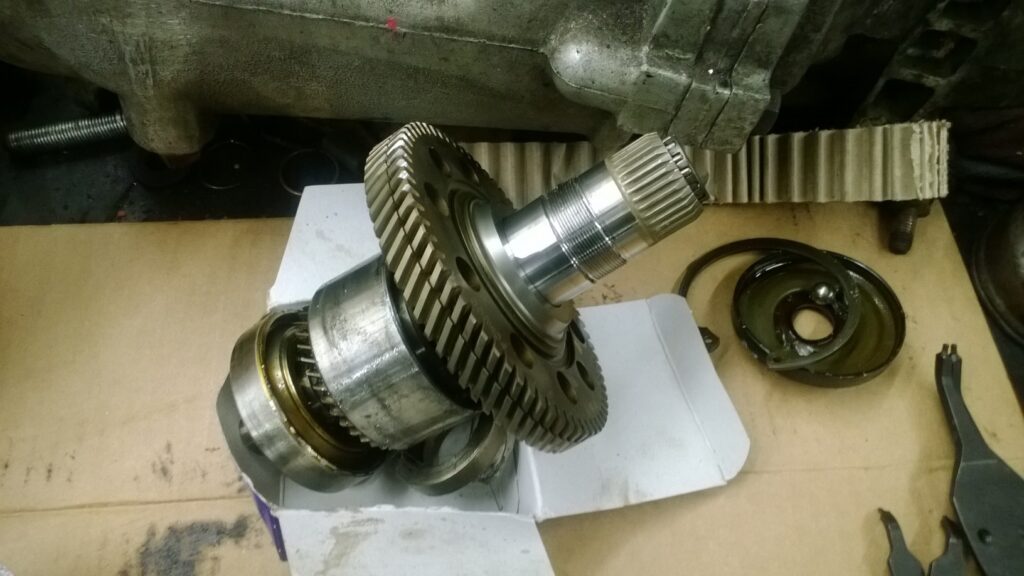
There are quite a few special tools required to disassemble the R.E.A.D. unit and reassemble it. This is a picture of the R.E.A.D. unit is disassembled and ready for reassemble. Also in this picture you see the new gear and bearing for the read unit. Volvo sells the bearing here as one assembly it cannot be purchased separately. Unfortunately this is the last picture we took, I wasn’t expecting to make a video or this page.

Reassembling the car went pretty smooth. I’m happy to report that the vehicle has been on the road trouble free for several years now. We did our second on on 03/2016 and that one is doing well also.
It seems we have become the READ experts over the last few years, and have developed a number of solutions. We have sourced all the bearing, so we can now rebuild units without using the Volvo kit. We have rebuilt units in stock, or can rebuild yours. We have tool recommendations, and we manufacturer some. We also sell the bearing kits, if you want to do the job yourself.
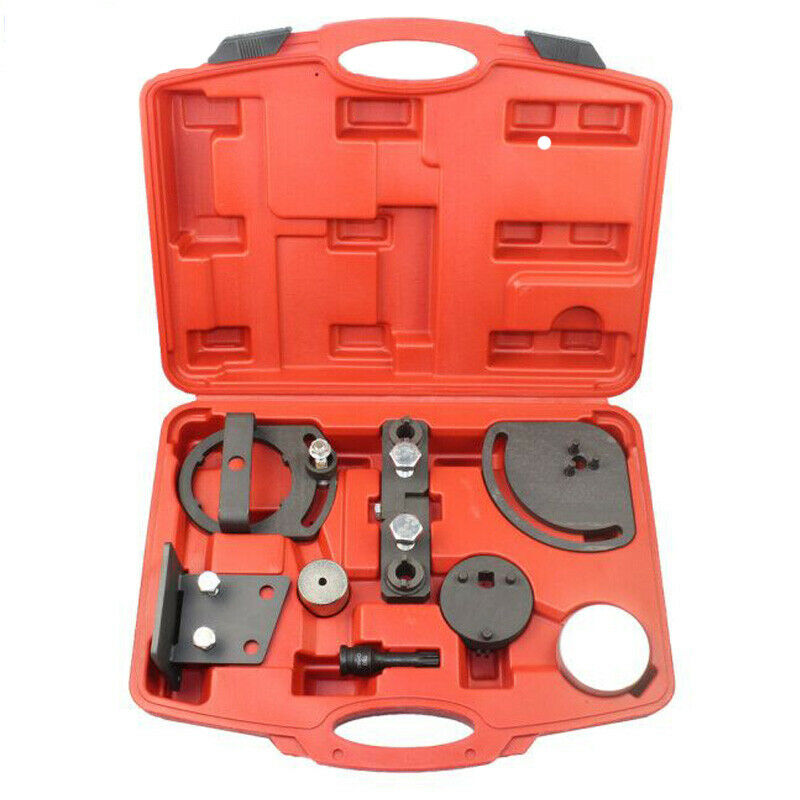
Whatever route you go, you are going to need these tools to remove the timing chain, to get the READ off. I recommend searching on ebay for the kit pictured here. They normally sell for $150 – $200 as of this writing. I just searched, and saw them as low as $91 and as high as $565. Just search “volvo 3.2 timing tool”.
You can purchase one of our rebuild units from the product page. They are $500. So you pay $700, and when we get a reusable (the case is not damaged) core back, you will receive a $200 core refund. This rebuild includes replacing all the bearings and seals. The case, gears and shafts are inspected, and reused, reducing the cost significantly from the Volvo kit. It comes with a one year warranty from the date of purchase. Should the unit fail, we will provide a replacement unit, and cover shipping both directions.
If you would prefer to do the whole job yourself, the next thing you are going to need is the tools to remove the sprocket from the READ unit. I have yet to see anyone remove the sprocket without these tools. One guy claimed to, but when it got to me, teeth were broken off the sprocket. Even if you manage to get it off, it needs to be torqued to 300 ft. lbs. when you put it back on. And we found out the hard way that if it is not properly torqued, the engine will tighten it for you, bending valves in the process. You can get these tools from Volvo, however, the last time I checked they were over $1200, and it would take a month to get them. We manufacture a set of tools to remove the sprocket. You can find those here. They are not as pretty as Volvo’s, but they work as good, if not better. Also, watch the how to video above.
You can purchase the complete bearing kit here.
Note, we highly recommend replacing the one-way clutch on the READ unit, as we
believe the failure of these one-way clutches is what causes the READ unit
bearing failure. Also check the one-way clutch on the alternator, and replace if
faulty.